Today, creating and selling online courses has become profitable for educators, entrepreneurs, and businesses. This guide will be particularly useful for those with an existing website looking to integrate Thinkific. Two powerful platforms that can help you achieve success in an online course are Thinkific and WordPress. Thinkific is a robust online course platform that allows you to create, market, and sell your courses with ease. WordPress is a versatile content management system (CMS) that powers over 40% of websites on the internet. Integrating Thinkific and WordPress can provide a seamless experience for your users, streamline your workflows, and enhance your online presence.
This guide will also cover integrating Thinkific with WordPress to provide a seamless experience for users. This comprehensive guide will walk you through the steps to integrate Thinkific and WordPress, automate e-learning workflow using Zapier and Make, and utilize API keys for advanced integration.
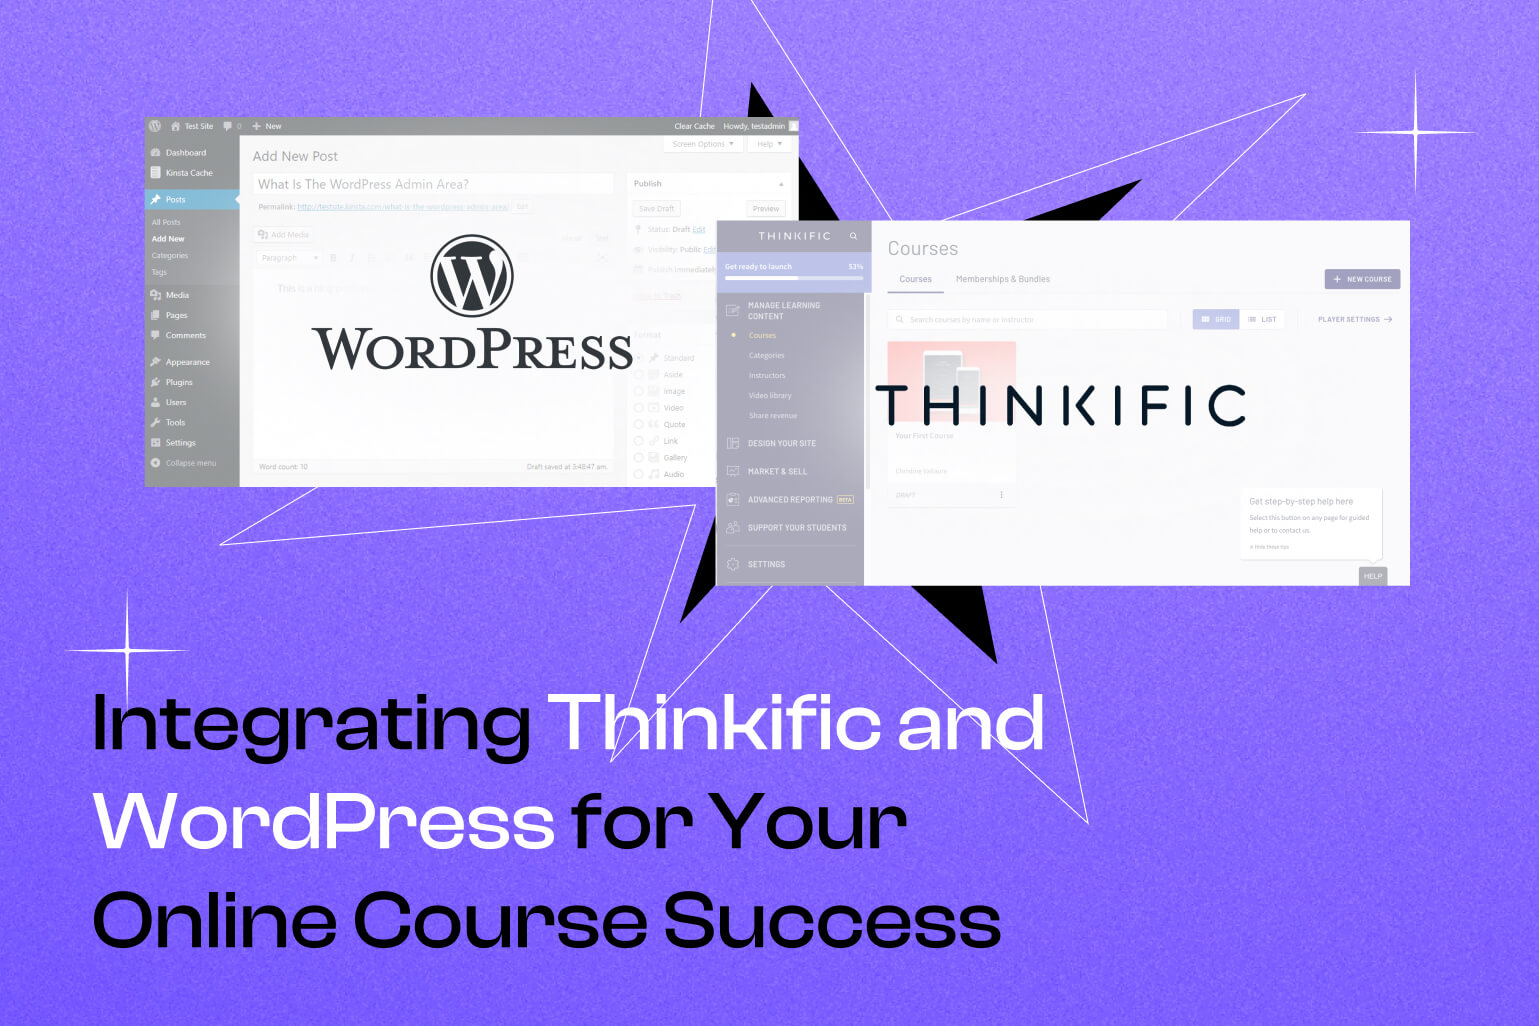
Table of Contents
- Exploring Thinkific and WordPress
- Why Integrate Your Thinkific Site with WordPress
- Step-by-Step Guide: Linking Thinkific with Your WordPress Website
- Automating Your E-Learning Workflow
- Utilizing API Keys for Advanced Integration
- Simplifying Access with Single Sign-On (SSO)
- Maximizing Course Exposure with Content Strategies
- Summary
- Frequently Asked Questions
Exploring Thinkific and WordPress

What is WordPress
WordPress is a versatile content management system (CMS) that enables users to create and manage websites easily. Initially launched as a blogging platform, it has evolved into a solid tool for developing a wide range of websites, from personal blogs to complex e-commerce sites. Its user-friendly interface and extensive customization options through themes and plugins make it a popular choice for users of all skill levels. WordPress is open-source software, meaning it’s free to use and modify, fostering a large community of developers and users who contribute to its continuous improvement and support. Whether you’re looking to create a simple blog or a comprehensive digital platform, WordPress offers the flexibility and resources to bring your vision to life.
What is Thinkific
Thinkific, an all-in-one platform for creating, marketing, and selling online courses, and WordPress, a versatile website builder, make a powerful combination for online course providers. Combining your Thinkific site with your WordPress website allows you to harness the strengths of both platforms, enhancing brand visibility and boosting sales.
Why Integrate Your Thinkific Site with WordPress
Before diving into the technical details, it’s essential to understand why integrating Thinkific and WordPress is beneficial for your online course business. Here are some key advantages:
- Seamless User Experience: By integrating Thinkific with WordPress, you can provide a cohesive experience for your users, allowing them to access courses, blog content, and other resources from a single platform.
- Enhanced Marketing Capabilities: WordPress offers various plugins and tools to help you market your courses effectively. From SEO optimization to email marketing integrations, you can leverage these tools to drive traffic and increase conversions.
- Customizable Design: WordPress provides extensive customization options, allowing you to create a unique and branded website that reflects your course offerings and business identity.
- Thinkific WordPress Integration: This integration combines the best aspects of both platforms, increasing brand visibility and seamlessly incorporating e-learning resources into an existing WordPress website. It enables users to enjoy additional functions like streamlined workflows for user enrollment, course completion notifications, and data synchronization, saving time and effort for content creators.
Moreover, integration can aid an established WordPress website with high traffic to start selling digital products using Thinkific or Thinkific for product creation while utilizing WordPress for blogging and creating customizable WordPress sales pages. These sales pages, built with WordPress page builders like Elementor and Beaver Builder, can be seamlessly linked to the Thinkific checkout page for efficient payment processing. Utilizing WordPress integrations can further enhance this synergy by creating custom workflows and automations between Thinkific and WordPress, allowing for seamless interaction between the two platforms.
Step-by-Step Guide: Linking Thinkific with Your WordPress Website
Prerequisites
Before starting the integration process, ensure you have:
- An active Thinkific account with courses ready to be linked.
- A WordPress website.
- Administrator access to both Thinkific and WordPress.
Step 1: Set Up Your Thinkific Account
- Sign Up for Thinkific: If you haven’t already, sign up for a Thinkific account at Thinkific.
- Create Your Courses: Set up your courses within Thinkific by following their course creation process. Ensure your courses are published and ready to be added to your WordPress site.
Step 2: Prepare Your WordPress Site
Since there is no direct plugin available, you can use custom links and embed options to integrate Thinkific with WordPress:
- Custom Links: Add links to your Thinkific courses on your WordPress site. You can do this by creating buttons or menu items that direct users to your Thinkific course pages.
- Embed Thinkific Content: Use Thinkific’s embed code to integrate course previews or specific content directly into your WordPress pages or posts. This can be done by:
- Navigating to your Thinkific course.
- Copying the embed code provided by Thinkific.
- Pasting the code into the HTML editor of your WordPress post or page.
Use Third-Party Integration Tools
Consider using third-party tools or services to facilitate integration between Thinkific and WordPress. Some popular options include:
- Zapier: Automate tasks between WordPress and Thinkific, such as user registrations or course enrollments.
- IFTTT (If This Then That): Create applets that connect WordPress and Thinkific for specific triggers and actions.
Step 3: Customize Your WordPress Site
Branding and Design
Ensure your WordPress site’s design aligns with your Thinkific courses for a consistent user experience. Customize themes and styles to match your branding.
SEO and Marketing
Optimize your WordPress pages for search engines to attract organic traffic to your courses. Utilize SEO plugins and strategies to enhance visibility.
Step 4: Test Your Integration
Before launching, it’s crucial to test the integration to ensure everything functions correctly:
- Navigate through your WordPress site and access the linked Thinkific courses.
- Verify that course pages load correctly and users can enroll and access content without issues.
- Test the user journey from landing on your WordPress site to enrolling in a Thinkific course.
Step 5: Promote Your Courses
- Create Marketing Content: Use your WordPress site to create blog posts, landing pages, and other marketing content to promote your Thinkific courses.
- Integrate with Email Marketing: Connect your WordPress site with your email marketing platform to capture and nurture leads through email campaigns.
- Monitor Performance: Use analytics tools to monitor the performance of your courses and website, making adjustments as needed to improve user engagement and conversions.
- Social Media: Share your courses on social media platforms to reach a wider audience.
Automating Your E-Learning Workflow
Automation can significantly enhance your e-learning workflow by reducing manual tasks and ensuring a smooth user experience. For those utilizing Thinkific in conjunction with a WordPress website, integrating Thinkific checkout links into WordPress posts can further streamline the automation process. Zapier and Make (formerly Integromat) are powerful automation tools that can help you achieve this. Here’s how to use them:
Using Zapier
Zapier allows you to create automated workflows, known as “Zaps,” between different apps. Here are some common Zaps for integrating Thinkific and WordPress:
- User Enrollment Automation: Automatically enroll users in Thinkific courses when they register on your WordPress site.
- Course Completion Notifications: Send automated emails or notifications to users when they complete a course on Thinkific.
- Data Synchronization: Sync user data between Thinkific and WordPress to ensure consistency and accuracy.
How to Set Up a Zap
- Sign Up for Zapier: Create an account on Zapier.
- Create a New Zap: Click on “Make a Zap” to start creating a new automation.
- Choose a Trigger App: Select WordPress as the trigger app and choose a trigger event, such as “New User Registration.”
- Choose an Action App: Select Thinkific as the action app and choose an action event, such as “Enroll User in Course.”
- Connect Accounts: Connect your WordPress and Thinkific accounts to Zapier.
- Set Up Trigger and Action: Configure the trigger and action settings, mapping the necessary fields between WordPress and Thinkific.
- Test and Turn On Zap: Test the Zap to ensure it works correctly, then turn it on to start automating your workflow.
Using Make

Make (formerly Integromat) is another powerful automation tool that allows you to create complex workflows with multiple steps and conditions. Here’s how to use it for Thinkific and WordPress integration:
- Sign Up for Make: Create an account on Make.
- Create a New Scenario: Click on “Create a new scenario” to start building your workflow.
- Add Modules: Add modules for WordPress and Thinkific. For example, you can add a WordPress module to trigger when a new user registers and a Thinkific module to enroll the user in a course.
- Connect Accounts: Connect your WordPress and Thinkific accounts to Make.
- Configure Modules: Set up the modules by configuring the necessary fields and mapping data between WordPress and Thinkific.
- Add Filters and Conditions: Add filters and conditions to customize the workflow based on specific criteria.
- Test and Activate Scenario: Test the scenario to ensure it works correctly, then activate it to start automating your tasks.
Utilizing API Keys for Advanced Integration
For advanced integration between Thinkific and WordPress, utilizing API keys allows you to access and manipulate data programmatically, providing greater flexibility and control over your online course platform. To begin, you’ll need to obtain your Thinkific API key by logging into your Thinkific account, navigating to “Settings,” and then “Code & API,” where you can generate and copy the API key. Once you have the API key, you can use it within WordPress to create custom functions that interact with Thinkific’s API.
For example, you can create a function to fetch and display Thinkific courses on your WordPress site or automate user enrollment in Thinkific courses upon registration on your WordPress site. Advanced integrations may also send notifications upon course completion or synchronize user data to ensure consistency across both platforms. You can build a more integrated and automated e-learning environment by leveraging API keys, enhancing the overall user experience and operational efficiency.
Simplifying Access with Single Sign-On (SSO)

One of the best ways to enhance user experience on your learning management system platform is to simplify access with a single sign-on (SSO) between WordPress and Thinkific. SSO in educational platforms ensures students, teachers, and administrators a smooth login process.
Enabling SSO between WordPress and Thinkific significantly improves the user experience for membership sites. The beauty of SSO is that users can access the Thinkific school using their WordPress credentials, thanks to Thinkific’s SSO functionality.
The Role of SSO in User Experience
Single sign-on for Thinkific offers a seamless user experience by minimizing the need for multiple logins and reducing authentication-related queries. Establishing single sign-on (SSO) with Thinkific enables existing WordPress users to access Thinkific courses using their WordPress credentials, simplifying the login process.
Enabling single sign-on allows WordPress users to access Thinkific products more seamlessly, contributing to a more cohesive user experience. A unified login process not only simplifies access but also reduces the chance of users forgetting their login credentials, leading to fewer support queries and a smoother user journey.
Implementing SSO on Your Site
Implementing SSO on your site may seem daunting, but with Thinkific’s OpenID Connect standard, it’s pretty straightforward. Here’s how it works:
- A user initially authenticates on an external site.
- A token (JWT) is created and forwarded to Thinkific’s SSO URL as a query parameter.
- Thinkific uses the token to log the user in or create an account if none exists.
The Thinkific SSO URL follows a specific format that includes the JWT payload and optional ‘return_to’ and ‘error_url’ parameters to dictate where the user should be redirected after signing in or if an error occurs. Error handling is built into the SSO process with parameters passed in the redirect URL indicating the type of error and the message should the SSO attempt fail.
Maximizing Course Exposure with Content Strategies
To maximize the exposure of your online courses offered on Thinkific, you can leverage your WordPress platform for content creation. By building WordPress websites focused on your courses, you can dramatically enhance SEO, attracting more traffic to Thinkific courses.
Gated content on WordPress can be a powerful promotional tool. Visitors must submit contact information to access valuable resources tied to Thinkific courses. High-quality gated content such as eBooks, whitepapers, or templates can effectively build an email list for promoting Thinkific courses.
Additionally, a Thinkific checkout link lets you directly promote your courses on the WordPress platform, enabling followers to access the course or lesson from your WordPress site without leaving.
Promoting Courses Through WordPress Blogging

Advertising your Thinkific courses on your WordPress blog can efficiently attract traffic and foster lead generation. One way to do this is by using gated content on your blog. For instance, hosting webinars as gated content provides interactive educational value and a direct promotion channel for Thinkific courses to engage participants.
Offering a free chapter or section of a Thinkific course as gated content can entice potential students to provide contact details for access and enable course previews. This facilitates lead generation, allowing for ongoing nurturing and increased course sign-up chances.
Integrating Course Previews into WordPress Content
While Thinkific courses cannot be embedded directly within an external site or an iFrame, other ways exist to integrate course previews into your WordPress content. A practical alternative is to create a WordPress landing page that provides essential information and highlights your course’s benefits to entice potential students.
You can also preview how the Thinkific Sales Widget will look on your WordPress site within the WordPress editor, ensuring it appears correctly to users before going live. This way, your potential students can get a sneak peek into what your course offers, sparking their interest and encouraging them to enroll.
Creating a WordPress landing page can also serve as a bridge to the Thinkific website for course previews, facilitating a seamless navigation experience between your main WordPress website and your Thinkific website.
Summary
Integrating Thinkific and WordPress can significantly enhance your online course business by providing a seamless user experience, enhancing marketing capabilities, and streamlining workflows. By following the step-by-step guide outlined in this post, you can effectively integrate these two powerful platforms and take advantage of automation tools like Zapier and Make to further optimize your e-learning workflow. Additionally, utilizing API keys for advanced integration allows you to customize and extend the functionality of your online course platform to meet your specific needs.
With Thinkific and WordPress working together, you can create a cohesive and professional online learning experience that will attract and retain learners, ultimately leading to your online course success.
Frequently Asked Questions
Does Thinkific work with WordPress?
Yes, Thinkific works with WordPress, allowing seamless integration and functionality, including a Single Sign On (SSO) extension and integration with various apps.
Who should use Thinkific?
Thinkific suits experts who want to share knowledge and build revenue through online education. It offers everything instructors need to create, market, sell, and manage courses. It is for those who want to teach a wide range of skills or knowledge online.
Does Wix integrate with Thinkific?
Yes, you can integrate Wix with Thinkific using Zapier’s templates to automate workflows quickly. This lets you connect your favorite apps with just a few clicks and create visually automated workflows.
What are the benefits of integrating Thinkific with WordPress?
Integrating Thinkific with WordPress can enhance online course delivery and user experience, increasing traffic and better user engagement.
How can I automate my e-learning workflow?
To automate your e-learning workflow, consider using automation tools like Zapier and Make. These tools can handle basic and complex tasks to streamline your processes. Try leveraging these tools to simplify your e-learning workflow.
